Tuesday 30 September 2014

Blue Flowers and Bird House


Hi there , I want to show you this plaque because it is a mixture of stamping and painting . The background flowers are simply stamped onto the painted plaque in two colours before the main flowers were stamped . I have used PaperArtsy stamps for this design . Once the ink is dry I used PaperArtsy Grunge Paste to paint on the flowers to create texture on the petals . This has to be left to dry before the next stage .
Once the grunge paste was dry I painted the flowers with various shades of blue and added the highlights by dry brushing white paint over the raised areas . The centers of the flowers were created by adding dots of the grunge paste . When the rest of the painting was dry I rubbed Treasure Gold over the dots to make them stand out .
It's fun to mix techniques like this using ideas from different areas of the craft and art world .

Fairy Mannequin

I found this mannequin in a shop that sells things at reduced prices . It looked very sad  - it's clothes were horrible . So I removed all of the original coverings and painted the stand dark blue and the body turquoise .So much better !

I then spent a long time cutting out lots of flowers from various scrapbooking papers . It's amazing how many flowers I needed . These were then stuck onto the body of the mannequin , overlapping each other to make it look like a flower garden . I decorated the front and the back so that it looks pretty from all angles .

The seed beads were stuck on in random patches to add to the design .Around the neck is a piece of lace and more seed beads .

The wings were made from wire wrapped in ribbon and then covered in tulle . I also used the tulle to tie a bow at the base of the wings .

I think that this mannequin looks much better that it did when I originally found it and I enjoyed decorating it so much that I have gone on to decorate other mannequins in different ways .

Wednesday 17 September 2014

Green Circle Frame

Hi there everyone , I'm back with a taste of my latest work with my new stamps from PaperArtsy . If you want to see the complete project and instructions then hop over to www. paperartsy.co.uk  and have a look . You will also find all manner of wonderful projects by other designers on the blog .
This picture shows a small piece of the finished work which is a circular plaque decorated with Christmas baubles . I know it's not Christmas yet but sometimes it's nice to started early !


The central background of the plaque was painted with Guacamole fresco finish paint . The embossed design was stamped on tissue first to be sure of the position of the stamped images .

Here you can see part of the outer frame which has
painted and then covered with crackle medium .


This photo shows how the frame has been stamped and embossed with a stamp from Lin Brown's new stamps and one of my stamps . The images were embossed in gold and dark green embossing powder .

There are three bauble stamps in the range and here they have been stamped onto patterned paper before cutting out each bauble .

When the whole piece has been assembled , adding some chains for the baubles , it makes a lovely Christmas home décor piece .


The picture below shows a close up of part of the plaque . I hope you have enjoyed seeing this -- I'll be back soon .

Tuesday 16 September 2014

Marbled Background Treasure Boxes

My projects today on the PaperArtsy Blog are a pair of treasure boxes with marbled backgrounds .The whole project and instructions are on that blog so I won't repeat everything here . The two boxes were painted with the same autumnal colours however one is a deeper colour than the other . The picture below shows the finished darker box .

Both of the boxes have been stamped with images from my stamps . The images have been embossed to create a background effect .

Two of the fairies from the stamp sets have been stamped and coloured with similar autumnal shades before adhering them to the boxes .

Below are a few pictures of the two finished boxes .


As they say , 'That's all for now folks ' , back soon.
 

Monday 15 September 2014

Project Drape

Welcome back . This week I am showing three projects that I have created using my new stamps which are made by PaperArtsy . The three projects will be shown in full on the PaperArtsy blog so hop over there if you want to see everything .
The picture below shows a small part of the whole project.


This project started life as a wooden plaque and a piece of fabric ! The fabric was stiffened and stuck to wood with any one of a number of mediums (I used Jo Sonjas Fabric medium - but slightly diluted PVA glue would work as well ).The fabric was pleated and shaped while it was wet and left to dry .
When the fabric was dry , the leaf design was stenciled on using Grunge Paste ( PaperArtsy ) . Small half pearls were stuck on and also lace around the edge of the fabric . The whole piece was then painted to achieve a uniform colour .
The plaque was coloured by spraying on diluted paint and then the raised areas were dry brushed with white paint to make them stand out .

The picture below shows three of the fairies from my stamp sets which have been coloured and then adhered within these flower shapes ( I think they are Prima mechanicals but I foolishly threw away the wrapper ) .
Finally the fairy images were adhered to the plaque to create the project shown in the picture below .

I hope that you have enjoyed seeing the finished work and I will be back soon .

Tuesday 9 September 2014

Lace and Flowers


Hello again , finally I'm back with another post ! I thought that I would share a painted project with you today . This is a large flat box and the picture shows the lid . The box itself is quite shallow but is a lovely size to store notes and similar treasures .
The center of the lid is painted with lots of layers of colour slowly building up to the pale highlights .The corners are painted with fine lines and bots in a warm white to create a lacey effect . This is a lovely decorative painting technique and can be used as an addition to a design or as the complete design .


Here is a close up of the central panel which shows how the multiple thin glazes blend to create depth in the painting .
I have always loved painting and have been a decorative painter for many years . I find that this translates easily into stamping projects because everything I have learnt about painting backgrounds and colour theory is just as appropriate to stamping .
I hope you liked this little taste of one of the type of things I like to do . See you all soon.


Saturday 30 August 2014

My New PaperArtsy Stamps!

 
Hello there , finally I'm back to show you something on this blog ! I have been very busy creating lovely projects for various places and didn't have time to post anything , please forgive me .
 
Today , I am going to introduce you to two sets of stamps that I designed and have been made by the wonderful people at PaperArtsy . This is the first time that I have designed any stamps and it is very exciting . I really hope that you enjoy them as much as I enjoyed designing them .
 
If you go over to the PaperArtsy website you will find out more .
 
Little Canvas Treasure Bags
 
I have included a couple of step by step photos to show how these little bags were made . They are very simple to create . In the picture above I have stamped and coloured an ivy stamp on tissue paper before adhering it to the back of the bag with PaperArtsy Matt Medium . The backs of the bags are all decorated in the same way using different stamps . As you can see below the mistletoe stamp was used for the back of the next bag .


The front of this bag was created using the same design on tissue paper which I stuck to a piece of fabric before attaching it to the front of the bag .
 
 
As you can see in the photograph above, the final bag was decorated using a holly stamp .
 
In the photograph below, you will see that the front of the bag with the circular design was again created by sticking the tissue onto fabric before adhering that to the bag . To the right of the picture you will see the bag featuring the rectangular design which was simply stamped on tissue paper and coloured before adhering to the bag.


Canvas Frame
 
Is it a wall hanging or a parcel ?
 
 
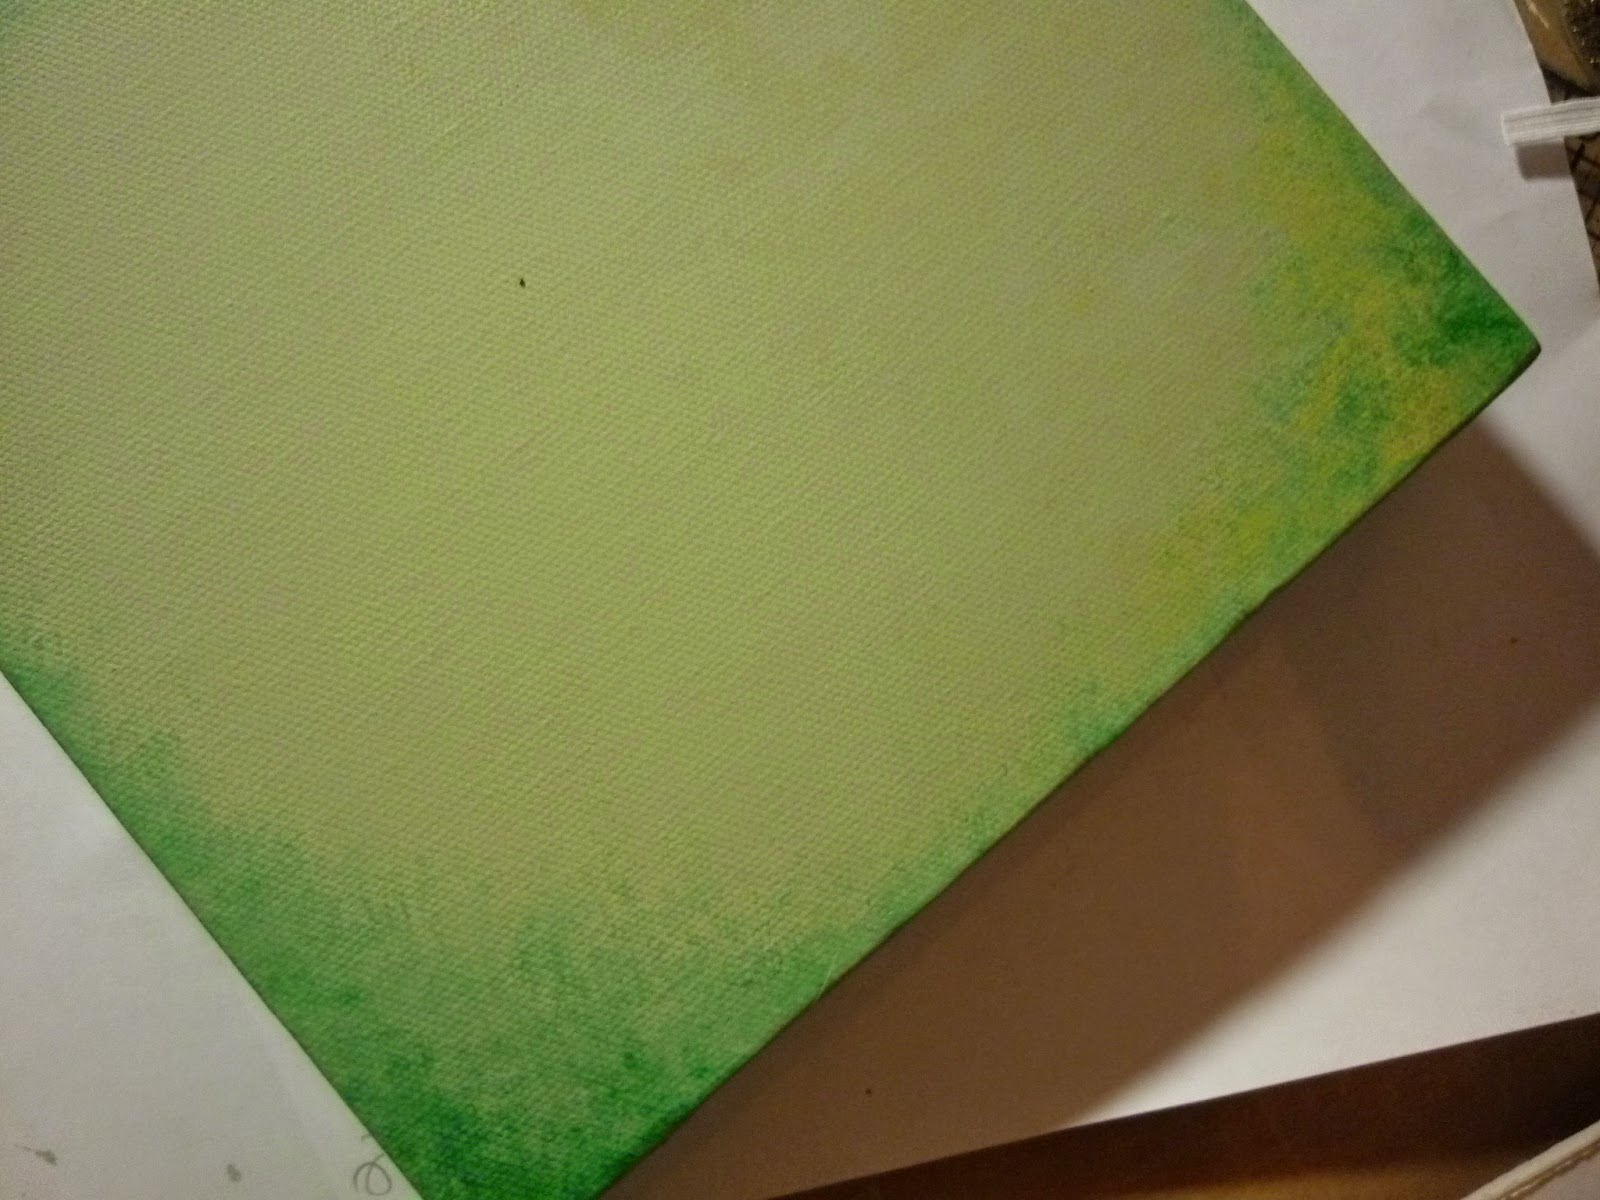
To create this canvas I have again used tissue paper to transfer the stamped design onto the background which was already painted using Bora Bora, Hey Pesto and South Pacific PaperArtsy Fresco Paints . I stamped the ivy design randomly and coloured it before adhering it to the painted canvas .


The photo below shows an area where I have used a stencil to create a design using Grunge Paste which has been coloured with green paint.


Next, I created some flowers using my stamps which are actually baubles ! I stamped them with Cranberry Pigment Ink and cut each bauble out before sticking them together to create flowers . See below . The picture shows the flowers in various stages of creation .


I then stamped one of the fairies from my stamp sets and coloured her in . I also made a frame for the piece and added various paints and Treasure Gold to create a striking effect .
 

The last step was to rub Treasure Gold around the edges of the canvas and adhere the picture and flowers to the canvas . See below for the finished result ! 


Winter Treasure Box
 
This Treasure Box is actually a book box but I thought it would make a perfect place to stash some treasure !
 
I painted the whole box with Antarctic and blended Bora Bora and Space Cadet over this . To create the background I used two of the other new stamps from PaperArtsy, Script Stamp from ESN11 and Blobs from ESN09 .


The picture below shows the back of the box with the background stamping already done and a design stamped using the mistletoe and the ivy stamps from my new sets .
 
I also used the mistletoe stamp for the design on the front of the box . 


The insert (shown in the picture below) was covered with embossed paper which was painted dark blue and rubbed with Treasure Gold to show up the embossing .
 
I then stamped and coloured another of the fairies from my new stamp set and attached her to the insert along with some ribbon and flowers . The word stamp is from ESN11 . 
 
 
And here is the finished piece !


Thank you for reading . I hope you like these projects .
 
Good bye for now , back soon !

Friday 15 August 2014

Lady in Blue

This lovely lady was inspired by a poem by Lord Byron . " She walks in Beauty like the night " . The painting was created using a pen and wash technique . First I painted the background using acrylic paints and blending the colours together to create a light source . I drew the design in using a permanent black pen before adding colour . Traditionally  the washes are made using water colour paint but I prefer acrylic paint , which can be used to make lovely transparent washes . The colours are cool colours to create the feeling of night as mentioned in the poem . I hope that you like her as much as I do .

Sunday 10 August 2014

Composition with a Little Birdhouse


I thought that I would add this picture . It started life as a Tim Holtz shadow box  before I started changing things around . As you can see , I have removed some of the little boxes to make an interesting space to put things in.  The little cupboard at the bottom was one of the boxes that  I removed and then I added doors onto it .  The doors are held shut with tiny magnets and open to reveal a treasure box inside . In the next box there is what appears to be a vase - but is in fact a poppy seed head painted with metallic paint . I then put some beads onto the stalk . At the top of the box are some little mushrooms that I made out of card and painted , along with some flowers . The back of the inside of the box is painted and then stamped . As you can see there is a fairy in the box which was the inspiration for the whole design . This explains why there are so many flowers and butterflies etc in the little boxes . I finished the outside with a stamped design and stuck lace around the edges to neaten them up .I really love making and filling this type of box , so I suspect I will show some more in future . Back soon .

Saturday 9 August 2014

Stamperama Sunday 3rd August 2014

Hi there , I must apologise for being a bad blogger . The truth is that I am new to this and it has taken longer than I thought to figure out what to do ! Here is a lovely picture taken by a friend at Stamperama last weekend . I am at the PaperArtsy stand demonstrating . I've never done this before but I had a great time . I do hope that I had something useful to show people !

Tuesday 29 July 2014

Top and side of box

Hi there , welcome to my blog . As this is my first post I thought I would start with some pictures of a painted box . I have been a Decorative Painter for many years having originally come across someone demonstrating at a craft fair . I was instantly attracted to this form of painting because I liked the idea of learning how to use the paintbrush to paint strokes which would then be used to create designs . This seemed to me the obvious way to learn to paint ( like learning the letters of the alphabet before reading ! )
Since then I have gone to many classes to learn many different forms of painting . I have also learn about colour theory and colour mixing which is invaluable when painting . I have also learnt a lot about painting with many types of acrylic paint and mediums . I love acrylic paint because it is fast drying , so that any mistakes can be covered quickly ! This suits my way of working especially as I like fast results .


These two pictures are from the top and side of a lovely box that I found . It was a beautiful shape but needed some beautiful decoration . I designed the decoration to fit the box and painted it using Jo Sonja’s acrylic gouache ( which is a lovely make of paint , rich in pigment ) . The picture of the lady is on the top and the flowers form part of the side decoration .
Since starting to paint , I have like many people become interested in many other related forms of art and craft . I particularly love designing , not just for painting but also mixed media and stamping crafts . I have taught decorative painting for some years and now teach using paints and stamps .
I hope to share some of the projects that I have created within this blog and I intend to show some step by step projects so that it will be possible to see how a project has been created . For now I will just leave you with these pictures and I will be back soon .

Welcome to my new blog!

A big hello to everyone who reads this. This is my new blog. My friends and family have been encouraging me to set up a blog for a while. So here it is! 
I shall be uploading exciting content in due course so please bear with me while I learn how to do this!